Key facts: Water Mitigation and Drying
- Mitigation means limiting further damage: stopping the source, extracting water, removing what cannot be dried and starting controlled drying.
- Drying combines air movement, dehumidification and sometimes heat; air movers alone just move moist air around.
- Drying goals are usually set by measuring the same materials in unaffected parts of the home.
- The EPA recommends drying water-damaged materials within 24 to 48 hours to help prevent mold growth.
- Dense materials such as plaster, hardwood and stone dry far more slowly than drywall and need longer monitoring.
In this page
- 1Mitigation explained in plain terms
- 2Signs that a house is not as dry as it looks
- 3How drying actually works
- 4How a contractor plans and sets up a drying job
- 5How long different materials typically take to dry
- 6What a drying job looks like day by day
- 7Common drying equipment and what each does
- 8What homeowners can do to help drying
- 9What happens at drying check visits
- 10Drying larger homes and custom finishes in Rancho Santa Fe
- 11Habits that make the next leak less serious
- 12Choosing between drying in place and removing materials
- 13Problems that often go hand in hand with drying jobs
- 14Drying wine rooms, cellars and climate-controlled storage
- 15Drying detached guest houses, casitas and pool houses
- 16How a drying job should be closed out
- 17Drying and mitigation questions from Rancho Santa Fe owners
What mitigation is
Mitigation explained in plain terms
Water mitigation is everything done to stop water damage from getting worse. It begins with stopping the source and extracting standing water, continues with removing materials that cannot be dried, and ends with controlled drying of the structure that remains. Restoration, by contrast, is putting the house back: new drywall, paint, flooring and trim. Mitigation has to be finished, and proven finished, before restoration starts.
Drying is the core of mitigation and the part most often rushed. Surfaces dry quickly; structure does not. A wall can feel dry to the hand while the bottom plate, the back of the drywall and the insulation behind it are still saturated. A concrete slab under engineered flooring can hold water for weeks. That hidden moisture is what causes the problems people notice months later: mold, odor, buckled flooring and paint that keeps blistering.
Professional drying is therefore a measured process. The contractor maps moisture at the start, sets a target based on dry materials elsewhere in the house, places equipment to create the right conditions, and takes readings at regular visits until the target is reached. The IICRC S500 standard describes this approach in detail. [1]
Good mitigation is also selective. The goal is to dry what can be dried and remove only what has to be removed. In homes with finishes that are hard to source again, that balance is the main thing you want from the contractor's judgment.
Why drying matters
Signs that a house is not as dry as it looks
Musty odor returns when the AC is off
When air stops moving, a faint musty smell that returns means something is still damp and growing.
Paint keeps bubbling
New paint that blisters on a wall that was supposedly dry shows moisture still moving out of the wall.
Floor boards keep moving
Hardwood that cups or gaps weeks after a leak is still adjusting to moisture in the subfloor or slab.
Grout lines stay dark
Dark grout lines in a tile floor long after the surface dried mean the setting bed is still wet.
High indoor humidity
A hygrometer reading that stays high in one room, while the rest of the house is normal, points to wet material nearby.
Condensation on windows
Water beading inside windows in one area can be a sign of moisture evaporating from hidden wet materials.
The science of drying
How drying actually works
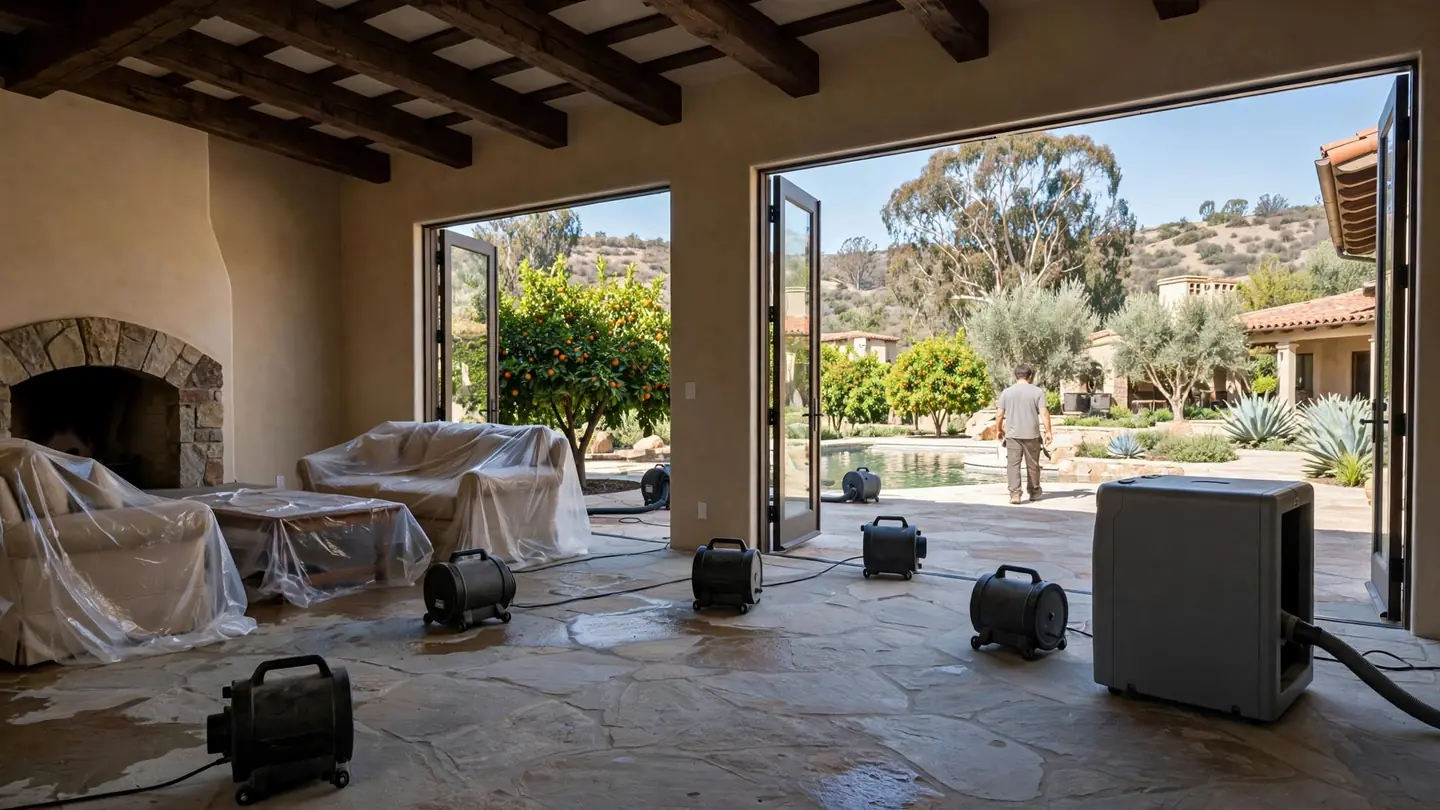
Drying depends on three things working together. Air movement sweeps the thin layer of saturated air off wet surfaces so more water can evaporate. Dehumidification pulls that water out of the air so it does not just settle somewhere else. Temperature speeds evaporation, because warm air can hold more moisture. Change one without the others and drying stalls: fans in a closed, humid room just move wet air around.
Restoration contractors use two main kinds of dehumidifier. Refrigerant units condense water on cold coils and work well in typical indoor conditions. Desiccant units use a moisture-absorbing material and can reach lower humidity, which helps with dense materials and cool spaces. The right choice depends on the size of the space, its temperature and what needs drying.
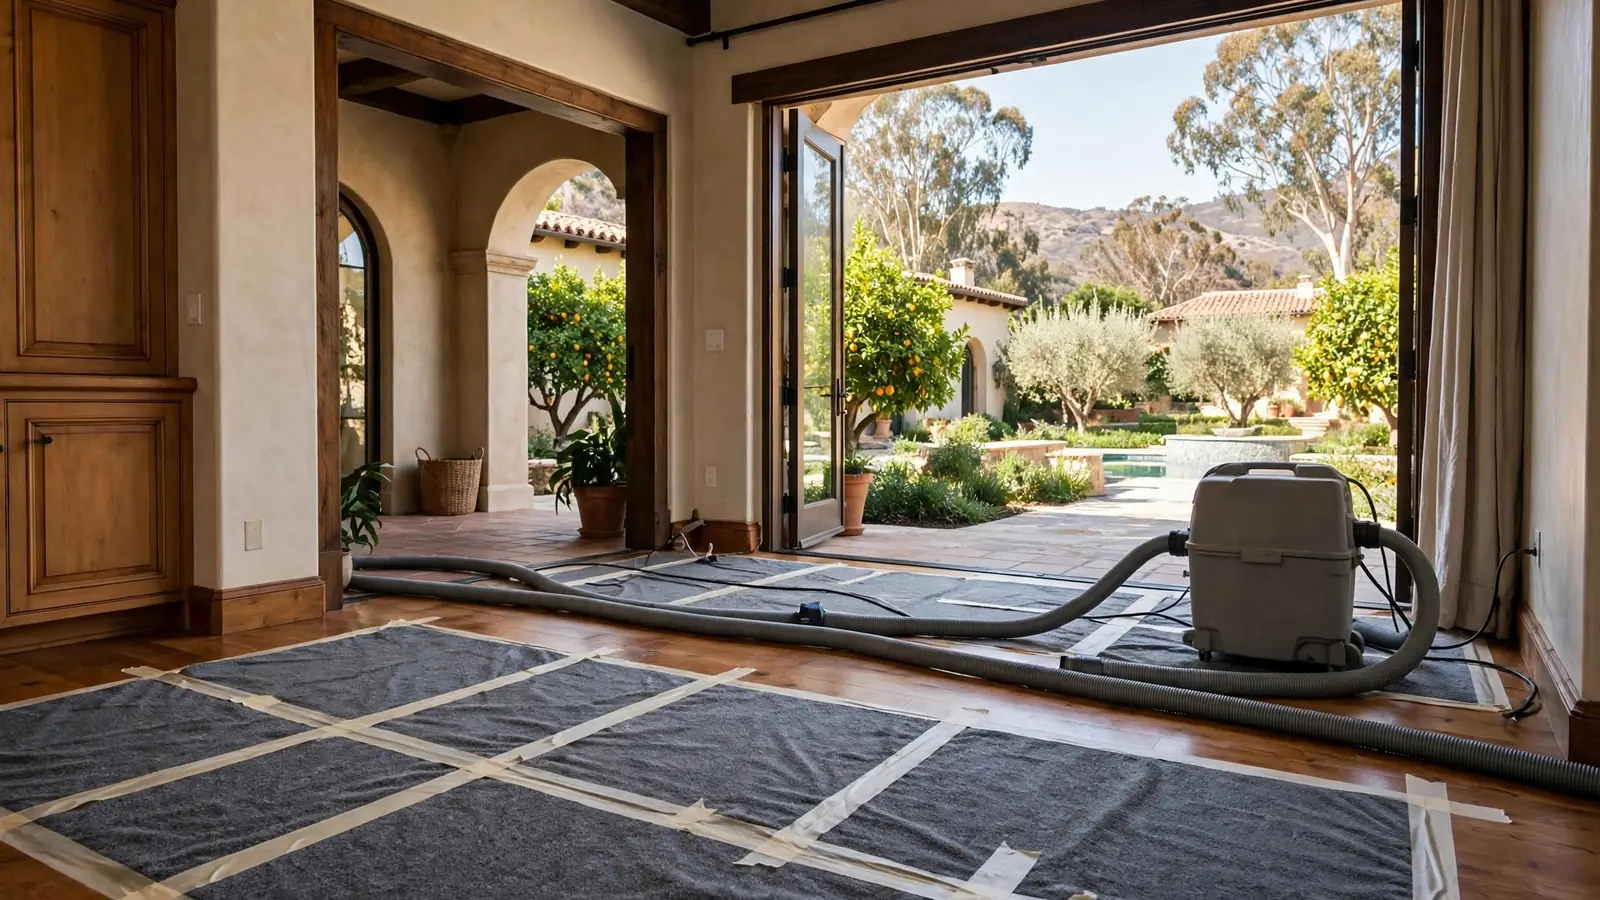
Some materials need targeted help. Wall cavities can be dried by drilling small holes at the base and blowing dry air in. Hardwood floors can be dried with mats that pull air and moisture up through the boards. Plaster and masonry may need longer runs and sometimes heat. Each material dries at its own pace, and the slowest one sets the timeline.
Coastal San Diego County air is often mild and moderately humid, and marine layer mornings can raise outdoor humidity. That is one reason contractors usually keep a drying area closed and let dehumidifiers control the air, rather than opening windows.
Setting up drying
How a contractor plans and sets up a drying job
- 1
Map the moisture
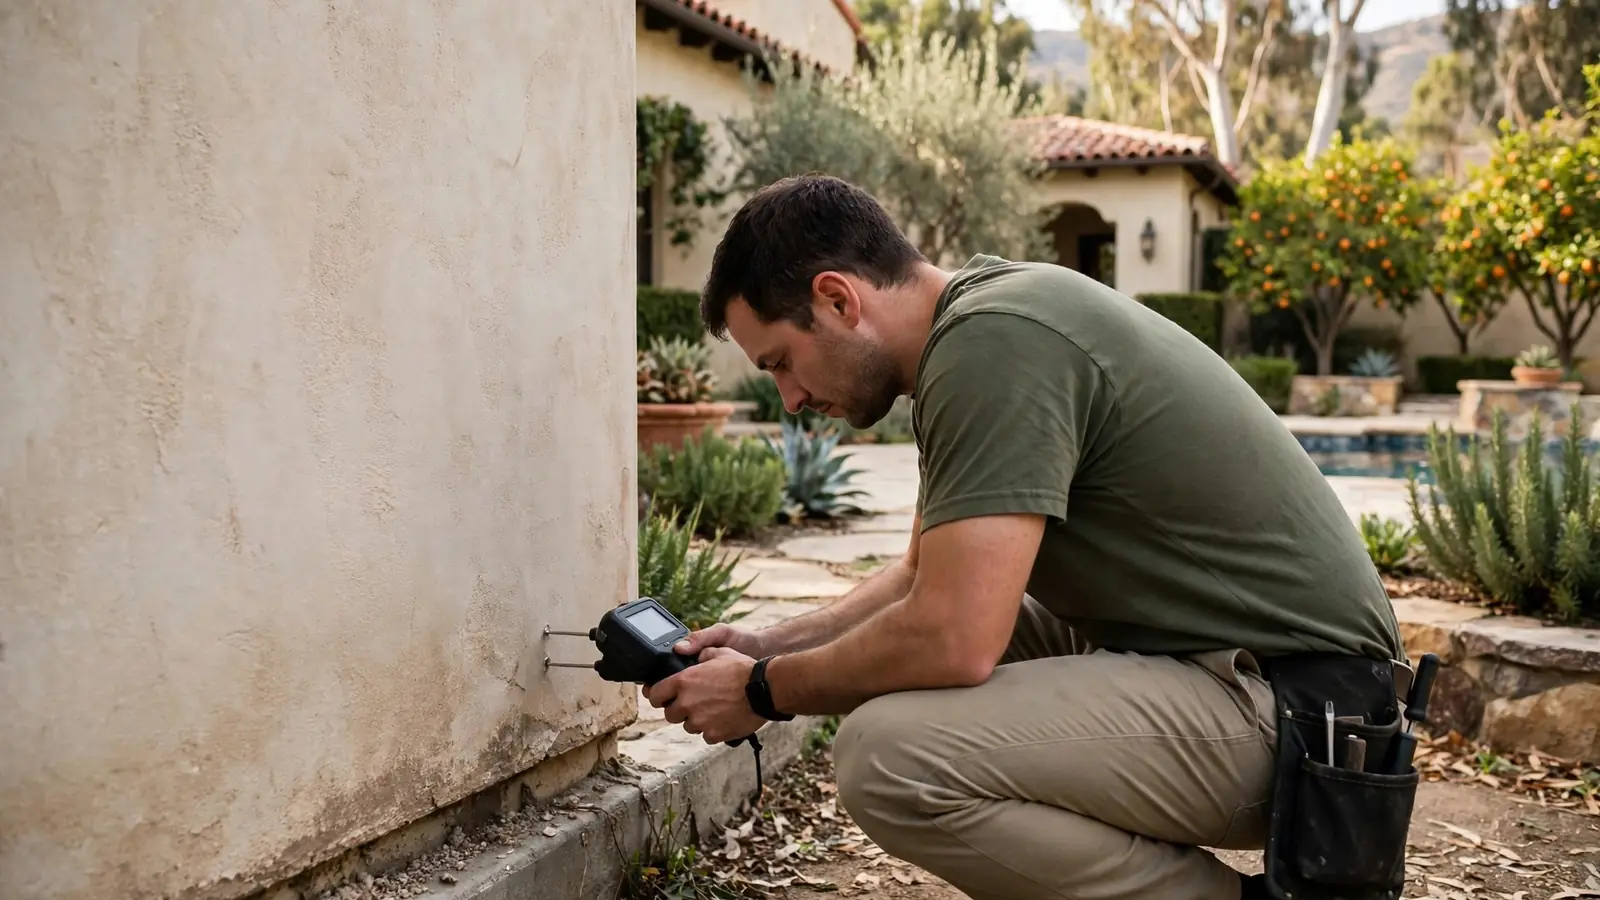
Readings are taken across floors, walls and ceilings to draw the wet area on a sketch of the house, including spots behind cabinets and under fixtures.
- 2
Set drying goals
The same meters are used on similar materials in rooms that did not get wet. Those dry readings become the target.
- 3
Decide what stays
Materials that can be dried in place are kept; materials that cannot are removed so they do not slow drying or harbor mold.
- 4
Place equipment
Air movers are angled along walls, dehumidifiers are sized for the room volume, and specialty tools are used for cavities and floors.
- 5
Close the drying area
Doors and vents are adjusted so the dehumidifiers control the air in the drying zone instead of fighting the whole house.
- 6
Monitor and adjust
A technician returns, logs readings, moves equipment as areas dry and removes it once goals are met.
Drying times
How long different materials typically take to dry
| Material | Typical drying behavior | What helps |
|---|---|---|
| Drywall with no wet insulation behind | Fast, often a few days | Air movers along the wall, dehumidification |
| Wall cavity with wet insulation | Slow unless opened | Insulation removal or cavity drying through small holes |
| Solid hardwood flooring | One to two weeks or more | Floor drying mats, steady low humidity |
| Concrete slab under flooring | Can take weeks | Lifting flooring, dehumidification, sometimes heat |
| Lime or gypsum plaster | Slower than drywall | Longer runs, gentle airflow, patience |
| Natural stone and setting bed | Slow; surface misleads | Continued dehumidification, testing grout lines |
| Framing lumber | Days to a week | Airflow into opened cavities, dehumidification |
The drying process
What a drying job looks like day by day
On the first day, after extraction and removal, the equipment goes in and runs around the clock. It is loud, and it moves a lot of air. The crew will usually ask you to keep doors to the drying area closed and to leave equipment running even at night, because each hour off slows the job.
Over the following days, the technician returns to take readings at the same marked points. You should see numbers fall. If they plateau, the contractor should change something: add a dehumidifier, open a cavity, remove a layer of flooring, or add heat. A drying log that shows readings by date is a sign the job is being done properly, and it is useful for insurance.
As areas reach their goal, equipment is moved to slower spots and eventually removed. The final readings should be recorded and shared with you. Only after that should walls be closed, floors refinished or new materials installed.
Most residential drying jobs on clean water run several days to about a week. Jobs involving dense materials, slabs, large homes or contaminated water can run longer. The goal is dry, not a set number of days.
Equipment
Common drying equipment and what each does
| Equipment | Purpose | Notes for homeowners |
|---|---|---|
| Air mover | Moves air across wet surfaces | Loud; positioned along walls and under cabinets |
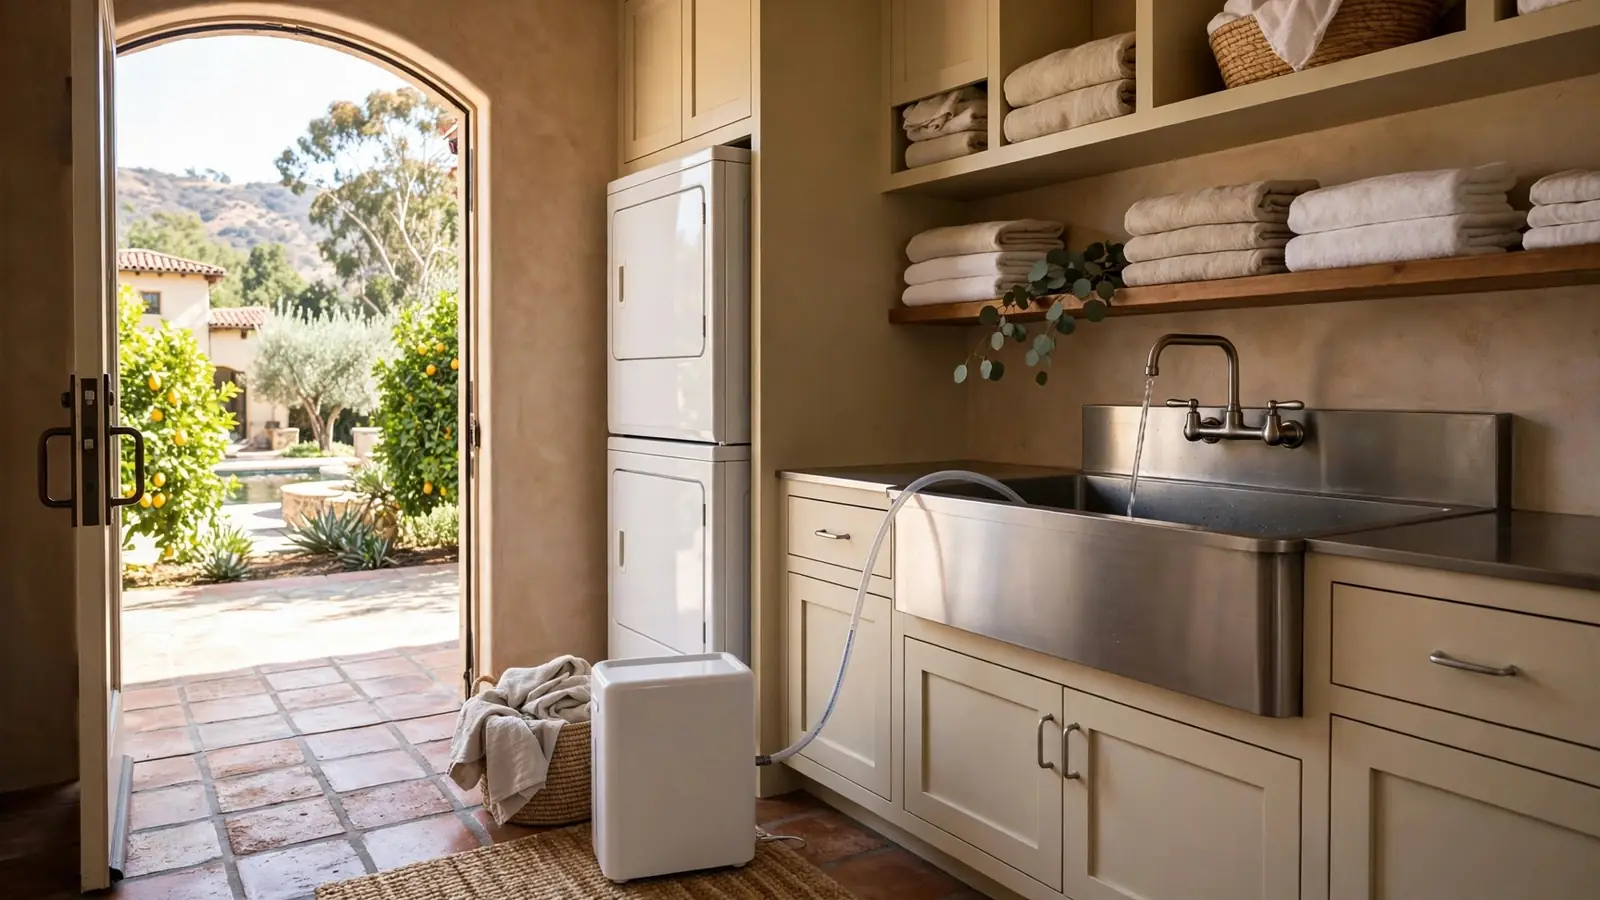
| Refrigerant dehumidifier | Removes water from the air | Drains to a sink or hose; keep the drain clear |
| Desiccant dehumidifier | Reaches very low humidity | Used for dense materials, large or cool spaces |
| Floor drying mats | Pull moisture up through wood floors | Taped to the floor and connected to a vacuum unit |
| Cavity drying system | Blows dry air into wall bays | Uses small holes near the base of the wall |
| Air scrubber | Filters airborne particles | Common with contaminated water or demolition dust |
| Moisture meters and thermal camera | Measure and locate moisture | Used at every monitoring visit |
Your part
What homeowners can do to help drying
You have a real role in how quickly a house dries. Most of it comes down to leaving the equipment alone and keeping the drying area closed.
If you notice a machine stopped, a tripped breaker or a full water tank on a dehumidifier without a pump, tell the contractor right away rather than waiting for the next visit.
- Leave equipment running day and night
- Keep doors and windows in the drying area closed
- Do not move air movers or unplug units
- Keep pets and children away from cords and machines
- Report any new water, odor or stalled equipment
The visit
What happens at drying check visits
Monitoring visits are short but important. The technician will take readings at the marked points, check the dehumidifiers and air movers, empty or check drain lines, and adjust equipment placement. They should tell you what changed since the last visit and how far each area is from its goal.
Ask to see the readings. A good contractor is happy to show you the log, and it helps you understand why equipment is staying or moving. If a reading is stuck, ask what the plan is to move it.
At the final visit, the contractor confirms that readings match the dry standard, removes equipment and gives you a record of the drying. That record is valuable for insurance, for your own builder, and if you ever sell the home.
If a room needs mold remediation because water sat too long, that work should follow containment practices in the IICRC S520 standard. [6] It is a separate scope from drying and should be explained separately.
Talk to a local contractor
Questions about water mitigation and drying?
One call connects you with an independent water damage restoration contractor who serves Rancho Santa Fe.
Rancho Santa Fe specifics
Drying larger homes and custom finishes in Rancho Santa Fe
Rancho Santa Fe homes are often large, with high ceilings, open plans and a lot of volume to dehumidify. A drying setup that works in a modest home may be undersized for a great room with a vaulted ceiling. Expect the contractor to calculate dehumidifier capacity for the actual space and to section off areas with plastic where that helps.
Many homes here also feature materials that dry slowly and are not easily replaced: thick plaster walls in Spanish Colonial and Mediterranean styles, wide-plank hardwood, imported stone and custom millwork. Drying these in place takes patience and careful monitoring. Rushing them with excessive heat can crack plaster or check wood.
Guest houses, pool houses and casitas are often closed up for long periods. If water damage is found in one of these, it may have been present for some time, which changes the scope from simple drying to drying plus mold checks.
Equipment draws real power, often for days. In a home where circuits already carry a lot of load, the crew may need to spread equipment across circuits. It also helps to tell the crew about any home automation that might switch HVAC or lighting circuits off at night.
Preventing future damage
Habits that make the next leak less serious
You cannot prevent every leak, but you can shorten the time between the leak and the start of drying.
- Install leak sensors and automatic shutoffs, especially in rooms over finished ceilings
- Know where the main shutoff is and make sure staff and house watchers know too
- Keep indoor humidity in a normal range year-round, especially in closed-up rooms
- Check under sinks, behind refrigerators and around water heaters every few months
- After any leak, insist on a drying log rather than a visual check before walls are closed
Dry in place or remove
Choosing between drying in place and removing materials
The best drying jobs save as much original material as possible. That keeps the house closer to its original state and avoids the disruption of rebuilding. Plaster, solid wood framing, stone, tile and hardwood caught early are often good candidates.
But drying in place is not always right. If water was contaminated, if a material has lost its integrity, or if a layer is trapping moisture and blocking drying, removing it is usually faster and safer overall. Swollen particleboard, saturated pad and insulation that will not dry in the wall are common examples.
Ask your contractor to explain each decision, and to show you the readings behind it. You should understand why something is staying or going.
Connected issues
Problems that often go hand in hand with drying jobs
Hidden moisture behind finishes
Our guide explains how meters and thermal cameras find water hiding in walls and under floors.
Mold after slow drying
When drying starts late or stalls, mold can begin inside cavities. Remediation then follows drying.
Floor damage
Cupped or crowned hardwood may need time to settle before it is sanded and refinished.
Ceiling damage
Water above a ceiling can leave stains and sagging; ceilings may need cavity drying or replacement.
Wine rooms and climate-controlled spaces
Drying wine rooms, cellars and climate-controlled storage
Temperature-controlled wine rooms are common in Rancho Santa Fe homes, and they are among the hardest spaces to dry. They are cool by design, often insulated heavily, sometimes below grade, and fitted with racking that covers most of the walls. A leak from the cooling unit's condensate line, a nearby bathroom or groundwater can soak racking bases and the wall behind them without showing much on the floor.
Cool air holds less moisture, so standard refrigerant dehumidifiers work less efficiently in a cellar kept at cellar temperature. Contractors may use a desiccant unit, raise the room temperature for a short drying window after moving the collection, or both. Moving bottles to a stable, cool place is usually the first step, with labels photographed beforehand.
Wood racking can usually be dried, but solid wood moves as it dries, so slow and even drying matters. Insulation behind sealed cellar walls often has to come out if it got wet, because it cannot dry through a vapor barrier. Ask the contractor how they plan to protect the cooling equipment and when it is safe to bring the room back to cellar temperature.
Guest houses and pool houses
Drying detached guest houses, casitas and pool houses
Detached buildings bring their own drying challenges. They are often smaller and simpler than the main house, but they are also used less, closed up for longer, and sometimes served by their own water heater, plumbing runs and electrical subpanel. A failed supply line in an unused casita can run for days.
When water is found in a building that has been closed up, the contractor should check for longer-term effects: swollen cabinetry, wet insulation, odor and any microbial growth. Drying may need to be combined with cleaning or remediation. Pool houses add chlorine and pool chemical storage to the list of things to protect and move.
Power supply is a practical question too. A detached building may not have enough circuit capacity for a full drying setup. The crew may run cords from the main house or bring their own power management, and they should explain where cords will run so they are not a trip hazard.
Closing up
How a drying job should be closed out
- 1
Final readings at every marked point
The technician measures every point on the moisture map again and compares each with the dry standard taken at the start.
- 2
Equipment removed and areas cleaned
Machines come out, plastic barriers come down, and the work area is vacuumed so the rebuild crew starts with a clean space.
- 3
Records handed over
You receive the moisture map, the drying log and photos, which your insurer and builder can rely on.
- 4
Repair scope confirmed
Any removed drywall, flooring or trim is listed so the repair phase can be planned and scheduled by whoever does it.
FAQ
Drying and mitigation questions from Rancho Santa Fe owners
How long will drying take?
Most clean-water jobs take several days to about a week. Dense materials, slabs and large spaces can take longer. The job ends when readings reach the goal, not on a set day.
Can I turn off the equipment at night?
Please do not. Drying works around the clock, and turning equipment off slows the job and can let moisture settle back into materials.
Why are my walls being drilled?
Small holes near the base of a wall let dry air into the cavity. They are patched afterward and avoid cutting out whole sections of wall.
Do fans alone dry a house?
No. Air movers speed evaporation, but without dehumidifiers the water simply moves into the air and settles elsewhere.
How do I know the house is really dry?
Ask for the drying log. It shows readings at marked points over time and the dry standard they were compared with.
Is someone available outside business hours?
Yes. If equipment stops or new water appears overnight, you can call at any hour and speak with an independent contractor.
Will drying save my plaster walls?
Often, if the water was clean and drying starts soon. Plaster tolerates water better than drywall but dries more slowly.
Can I stay in the house during drying?
Usually yes. You may want to sleep away from the noisiest rooms. Keep children and pets away from equipment and cords.